I understand that this is not the first such article on this resource, just wanted to try to write an article myself, to know what it feels like. If you did not like what I wrote, please leave feedback in the comments.
Introduction
Computer games are an integral part of our culture, they give emotions, bring people together and create different infographics.
Developers give us interesting or not-so-interesting titles, players decide if it’s a good game or not so good. One thing is always clear, this game, whatever it is, took the time and effort of the developers themselves.
The first impression of the game is formed when we see its graphics, today we will analyze the 3D models in them, how they are made and what tricks are used to get a better picture.
Process
Some of the process can be swapped around as the process for creating a character and, for example, a tank, the pipelining (i.e. the development process) will be different.
Concept Art
Concept Art – an idea embodied by the artist, according to its brief description.
The purpose of concept art is to create a sketch of the object, which will be put into production. In a short time you need to find the best concept, otherwise you can make mistakes in the later stages of creating the model.
Sculpting
To begin with, the artist will have to make a sculpt of the model. At this stage you can dive into creativity and sculpt without thinking about polygons.
After all the sculpting process, the model should already look as finished as possible, as this is what we will use for the further stages of production.
Such a model won’t be able to be crammed into the game, and what’s more, it’s probably going to be difficult to do the subsequent stages of production, as there are too many polygons on it.
Retopology
At this point, we are going to have to reduce the number of polygons.
Retopology is a rebuilding of the polygonal mesh, the creation of a new geometry on top of the old one for further use.
Low-polygonal mesh will be useful for us first of all for optimization, as well as for creation of clean mesh for further animation and creation of UV maps.
However after the retopology stage, the model may seem too simple and flat, but we will fix that later on.
UV unwrapping
We need this step in order for our bake and textures to behave correctly.
If you have assembled a cube from paper, you will understand how it works here too.
The UV map is created by cutting edges on the model, so for example in this image, we can clearly see where the geometry cut.
Fusing maps
Fusing maps is needed to transfer detail from high polygonal model (high poly) to low polygonal model (low poly).
First of all, it is necessary so that our model would not look flat and correctly reflect the light in the scene. Now I will tell you about some of the most “popular” maps.
Normal Map is exactly the map that allows us to add detail without wasting extra polygons.
It works like this: vectors that are used to determine how light is reflected from the surface. You can use them to control the transition between faces, but you can also change their direction so that the lowpoly model reflects light in the same way as a more complex model.
In short, a low-poly model begins to reflect the surface in the same way as a high-poly model. This gives us the impression that the model is more detailed.
Ambient Occlusion – With this map is much easier, it adds shadows to the model, where necessary. Thus the model becomes more realistic.
Curvature – This map calculates the irregularities on the surface of the model and also picks out all the edges so that these irregularities can be used for texturing.
Texturing
So here we are at the almost final step in our development process. The texturing phase is pretty important as textures are what have a big impact on the perception of the model.
A texture is an array of colored dots that make up an image. It’s not just about coloring an object. In fact, the term texture refers to the roughness or smoothness of an object’s surface. These are the properties of the surface that can be touched.
PBR materials are materials that correctly represent all textures, i.e. roughness, reflections, shadows.
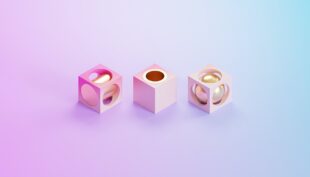
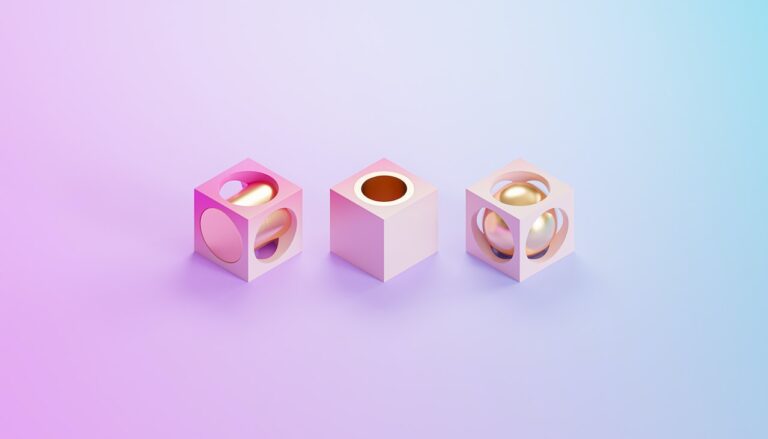
Using 3d Models In Online Casino Design
With the emergence of 3D models, online casinos have become more creative and exciting than ever before. Top 10 Casinos in Canada are taking advantage of this modern technology to create realistic simulations for players to enjoy. Players can now feel like they’re walking through a bright and colourful casino, complete with stunning visuals reminiscent of the real experience. With such creative design, players can immerse themselves in the action without having to leave the comfort of their own home. 3D models enable developers to think outside the box when designing unique and captivating games that will draw people in each and every time they log in.
Conclusion
That’s how many steps a 3D artist goes through to get the desired result, but we haven’t touched on the rig and animation of the model itself yet.
If you are interested in this topic then create, create and maybe very soon you can get your dream job!